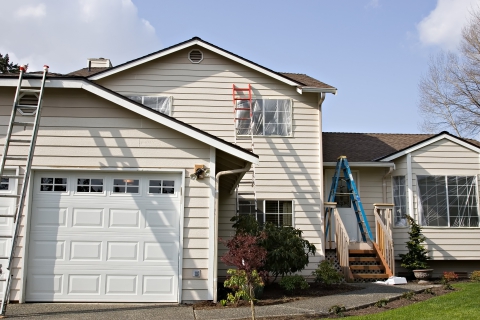
You’ve peeled away old paint, you’ve sanded your surfaces, we’ve pressure washed away debris. Your home’s wooden exterior is ready for a fresh coat of paint. In our last blog, we covered the first steps you’ll need to take to prepare your surface for paint, as well as the tools and materials you’ll need to get the job done. Today, we’ll be talking about the process you should follow to make exterior painting a snap.
Plan Ahead

Once your surfaces are dry after pressure washing, you’ll want to paint on a day that’s sunny. Shoot for a day that has no chance of rain. Each coat will need to be applied to a dry surface or your freshly applied paint may bubble and crack. If it rains as you’re tackling your home-painting project, you’ll have to wait until the surface is dry once again to continue.
Taping Off Surfaces & Drop Cloths
Tape off edging, windows, and corners where your paint colors will be different. If you’re painting your edging after you’ve painted the majority of your exterior surface, you can be a bit messier. Paint these surfaces first, then come back with tape when you paint your edging to attain clean lines.
Put drop cloths along sections of your home that you’re painting. Use your drop cloths to protect your landscape and foliage, your deck, and anything else that doesn’t need drops of paint.
Mixing Your Paint
Mix your paint thoroughly. I’d recommend getting a large 5- or 10-gallon bucket to combine your paint cans – you’ll get a completely consistent color this way. Use a stir stick if you’d like, or upgrade with a mixing bit for your hand-held drill (be cautious not to spray paint everywhere if you use a drill!).
Painting!
It’s time! Grab your brushes and roller. Ready your ladder. Start at the top of your home and work downward (you can fix any dripping as you work with gravity). Feel free to paint in sections; painting a home is often a multi-day process. Be sure to let your paint fully dry before applying any additional coats. Again, it’s easiest to paint the large surfaces of your home first, then transition to the edging and detail surfaces.
Clean Up
Seal up your paint buckets with a rubber mallet. If you need to do touch-ups later, you’d better keep excess paint stowed away.
You should remove your painter’s tape while your surface is still semi-moist to avoid paint chipping. Cautiously pull painter’s tape away from the surface at about a 45 degree angle.
Clean your brushes and rollers (if you’re keeping them) while they’re still wet. Properly cleaning your brushes will extend their usability. You’ll need the right cleaning solution based on the composition of your paint (acrylic or oil).
Voilà! Before you know it, your home-painting project will be done! With a few fresh coats of paint, you’ll have a home that looks brand new. A fresh coat of paint can protect your wooden siding for years to come. Call us Big Clean HQ
